Calculator
It can be used with any Sprocket Rocket Product
The Calculator module is a user-friendly tool designed to simplify complex calculations and provide accurate results in real-time. This documentation will guide you through the process of adding form fields, performing calculations, and customizing the functionality of the Calculator module.
Adding Form Fields
To add form fields for user input, follow these steps:
- Locate the Inputs repeater in the module settings.
- Within the repeater, add a new row to represent each form field.
- Assign a unique ID to each field. This ID will be used to reference the input value during calculations.
- Specify a default value for the field, if applicable.
- You can also include a prefix or suffix to enhance the user experience, such as currency symbols or units.
Performing Calculations
- The Calculator module allows you to define and perform calculations based on the user inputs. To set up calculations, follow these steps:
- Find the Outputs repeater within the Results group in the module settings.
- Add a new row to the repeater for each calculation you want to perform.
- Assign a unique ID to each result field.
- In the "Calculation" field of each row, enter the formula to calculate the desired result. Refer to the input IDs defined earlier to include them in the formula.
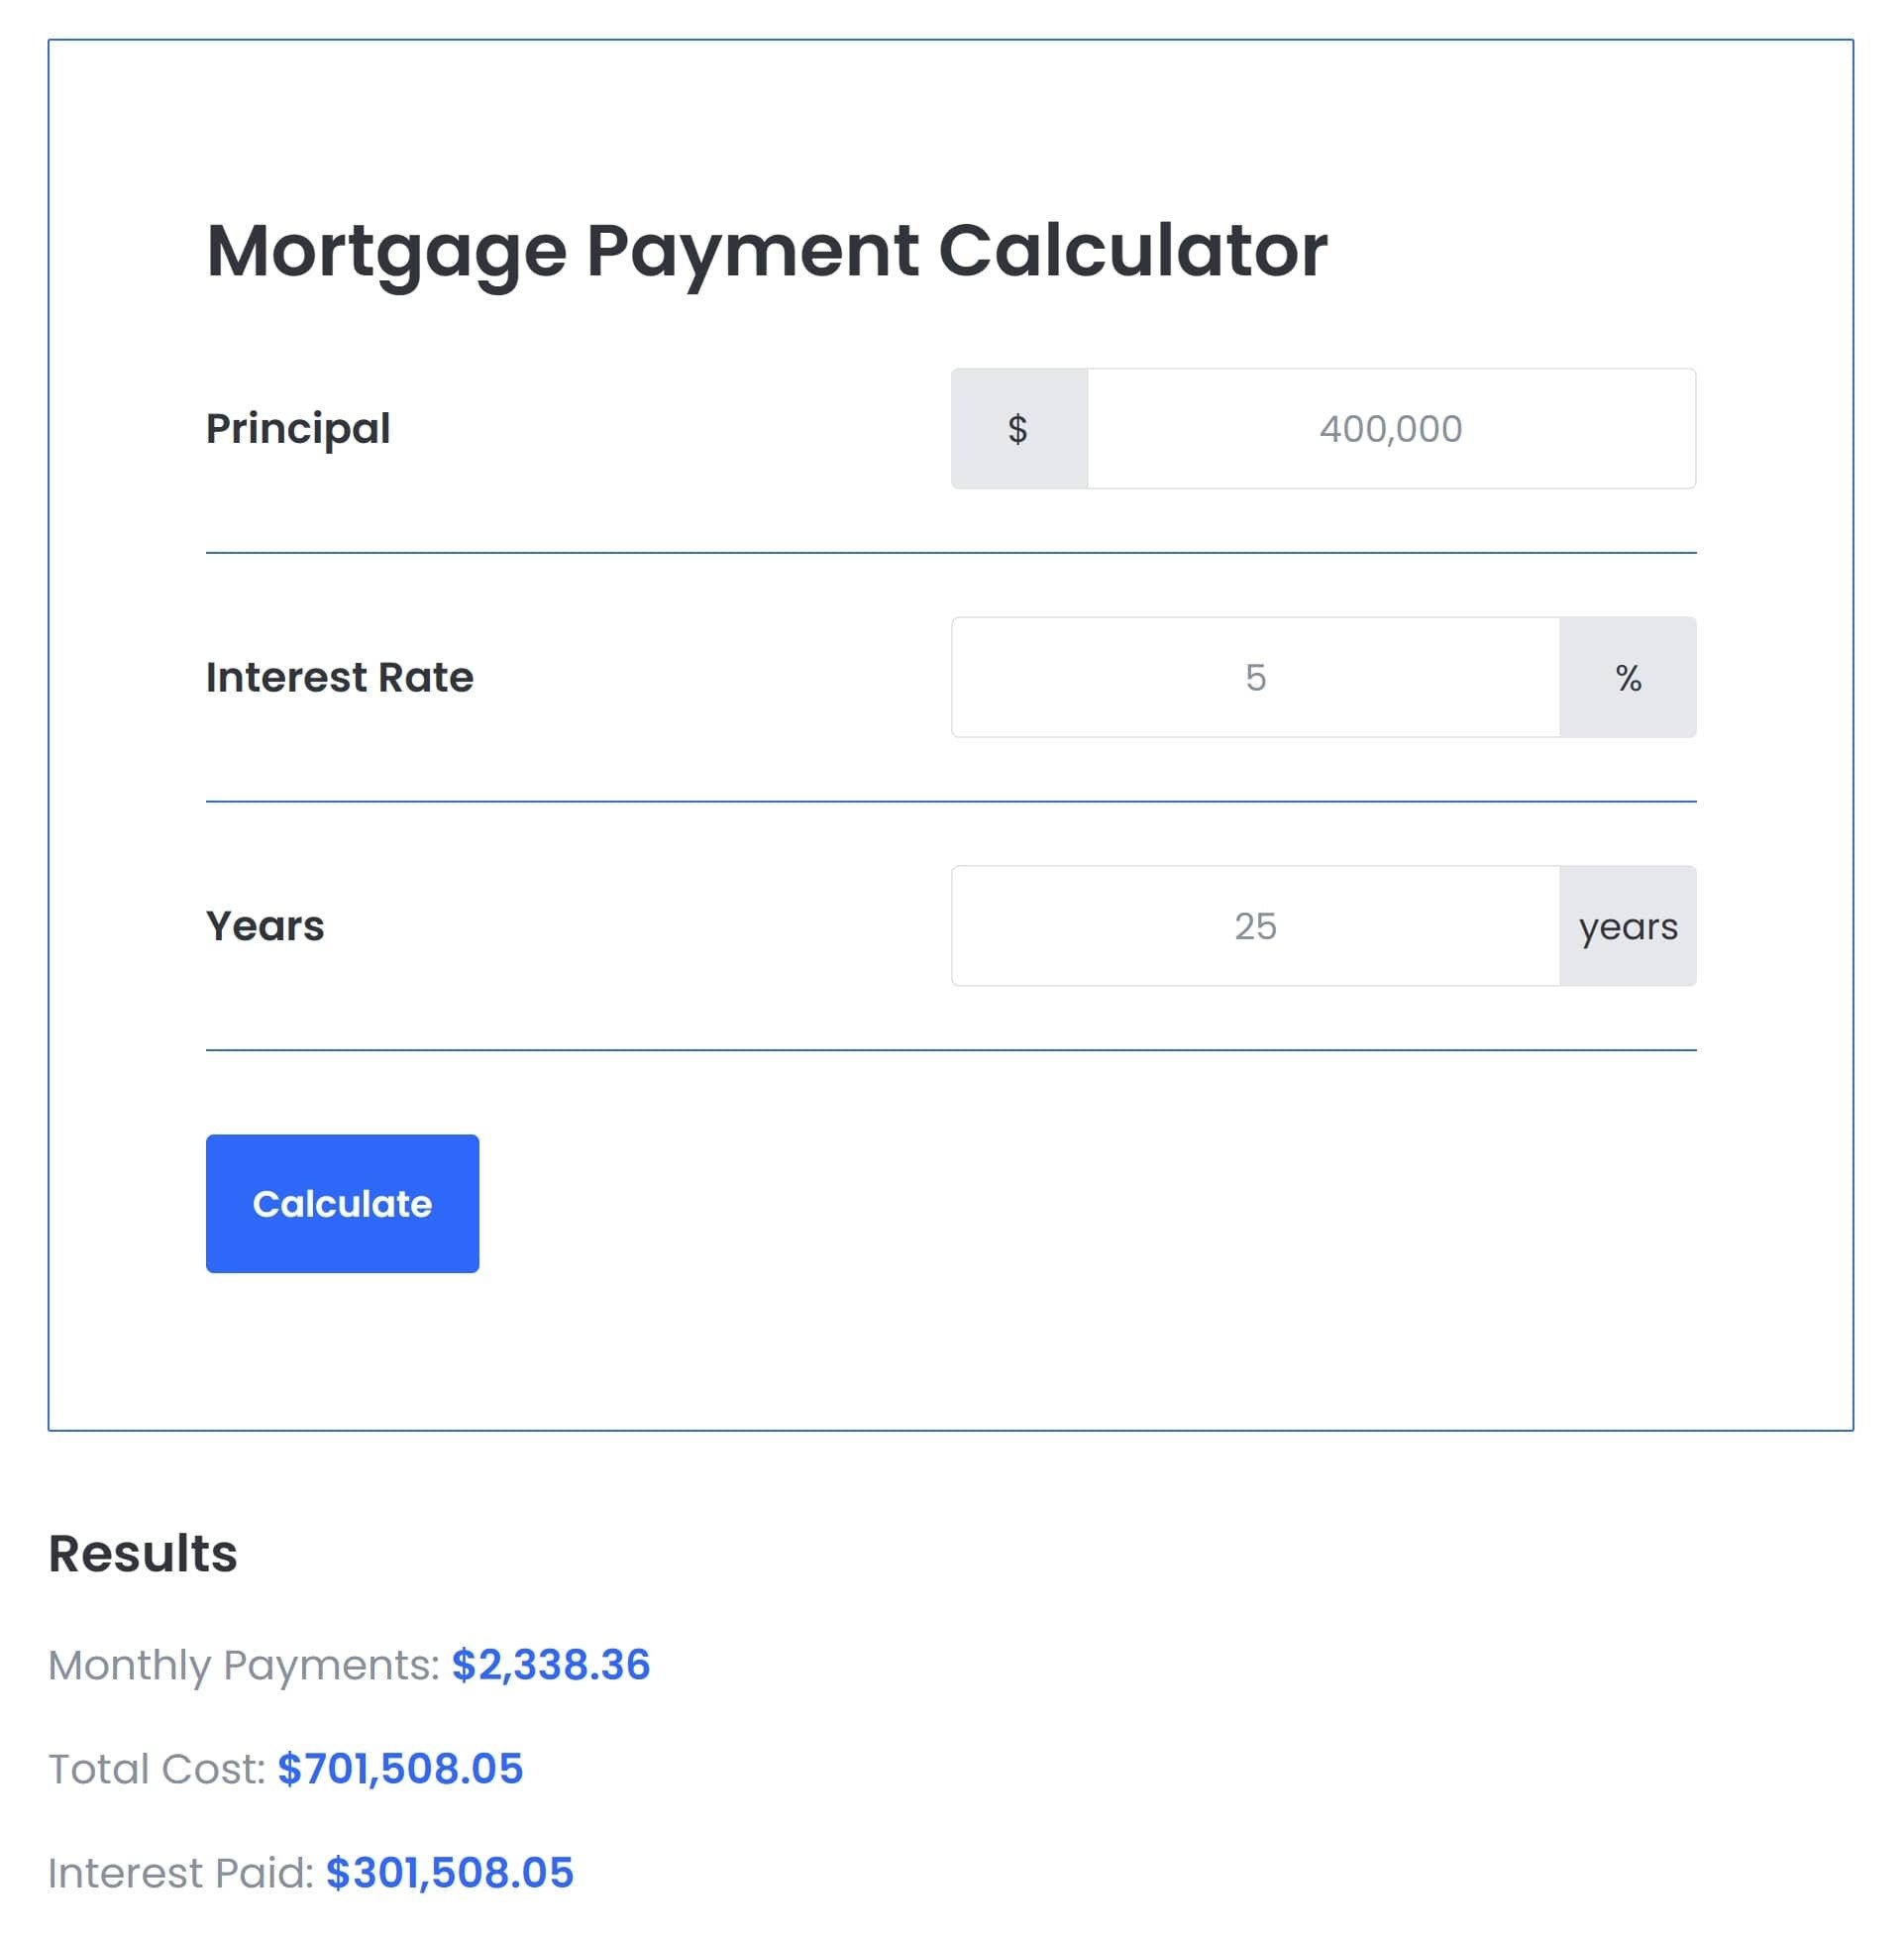
Example: To calculate the interest on a principal amount, use the formula:principal * r * (1 + r)**n / ((1 + r)**n - 1), whereprincipal,r, andnare the input field IDs.
Supported Operations
- The Calculator module supports various mathematical operations, allowing you to create diverse calculations. Here are the supported operations:
- Addition: Use the
+symbol. - Subtraction: Use the
-symbol. - Multiplication: Use the
*symbol. - Division: Use the
/symbol. - Modulus (remainder): Use the
%symbol. - Exponentiation: Use
**to raise a value to a power. - IF: This expression checks if A equals 1; if it does, the result will be the value from B; otherwise, the result will be the value from C.
(A == 1) ? B : Cor(A == "CAN_BE_A_STRING") ? B : C
Background Calculations
You can perform calculations in the background without displaying the results. This feature is useful when you want to use the calculated values later without showing them to the user. To enable background calculations:- Locate the desired result field in the Outputs repeater.
- Check the "Hidden" checkbox for that field.
Send Results to HubSpot
You can send the Input and Outputs to a HubSpot form by creating fields that correspond to your Input/Outputs
-
Create Matching Fields: In your HubSpot form, create fields that match the inputs and outputs you wish to send.
-
Configure Call to Action: In the Results section, set the Call to Action to Open Form and choose the relevant form from your list.
-
Enable Data Transfer: For each input or output, check the Send to HubSpot Form option and enter the corresponding HubSpot field name.
-
Hide Form Fields: If you prefer not to display certain fields to users, you can set these form fields to be hidden within the HubSpot form settings.
Customization
The Calculator module offers customization options to align with your branding and specific requirements. You can customize the appearance and styles in the module's Style tab Customize the colors, fonts, and overall design to match your website theme.
Gating Calculator Results
In addition to performing calculations and sending input/output data to HubSpot, you can "gate" the results by hiding them initially, collecting user information, and emailing the results after submission. This process ensures that users provide necessary details before receiving the calculated results.
Steps to Gate the Results
- Hide Calculation Results:
- Perform background calculations without displaying results initially.
- Locate the desired result field in the Outputs repeater.
- Check the "Hidden" checkbox for that field.
- Send Calculation Data to HubSpot:
- Create Matching Fields: In your HubSpot form, create fields that correspond to the input and output fields you wish to send.
- Configure Call to Action: In the Results section of the Calculator module, set the Call to Action to "Open Form" and choose the relevant HubSpot form from the list.
- Enable Data Transfer:
- For each input/output field:
- Check the "Send to HubSpot Form" option.
- Enter the corresponding HubSpot field name.
- For each input/output field:
- Hide Form Fields: Set form fields to be hidden within HubSpot form settings to avoid displaying unnecessary fields to the users.
- Collect User Information:
- Design the HubSpot form to collect any other user information (e.g., name, email address).
- Send Results via Email:
- Create an Automated Email in HubSpot:
- Set up an automated email in HubSpot containing the calculated results.
- Use personalization tokens to pull in the submitted data.
- Trigger Email on Form Submission:
- Configure the form submission settings to trigger the automated email.
- Ensure that the email template references the corresponding input/output fields.
- Create an Automated Email in HubSpot:
Example Implementation
Below is an example of how to set up a gated result process for a simple interest calculation:
- Hiding the Result Field:
- In the Outputs repeater:
- Add a result field with a unique ID, e.g.,
interest_amount. - Enter the formula for calculating interest:
principal * r * (1 + r)**n / ((1 + r)**n - 1). - Check the "Hidden" checkbox for the
interest_amountfield.
- Creating Matching Fields in HubSpot: Create fields in your HubSpot form for
principal,rate,term, andinterest_amount. - Configuring Call to Action:
- In the Results section:
- Set Call to Action to "Open Form".
- Select the relevant HubSpot form.
- Enabling Data Transfer:
- For each input/output field:
- Check the "Send to HubSpot Form" option.
- Enter the corresponding HubSpot field names, e.g.,
principal,rate,term,interest_amount.
- For each input/output field:
- Collecting User Information: Include mandatory fields in the HubSpot form for
nameandemail. - Setting Up Automated Email:
- Create an email template in HubSpot that includes the calculation results.
- Use personalization tokens to pull in values for
interest_amount,principal,rate, andterm.
- Triggering the Email: Set the form submission to trigger the automated email with results.