SR Locations 02
This module is available on these plans: PRO
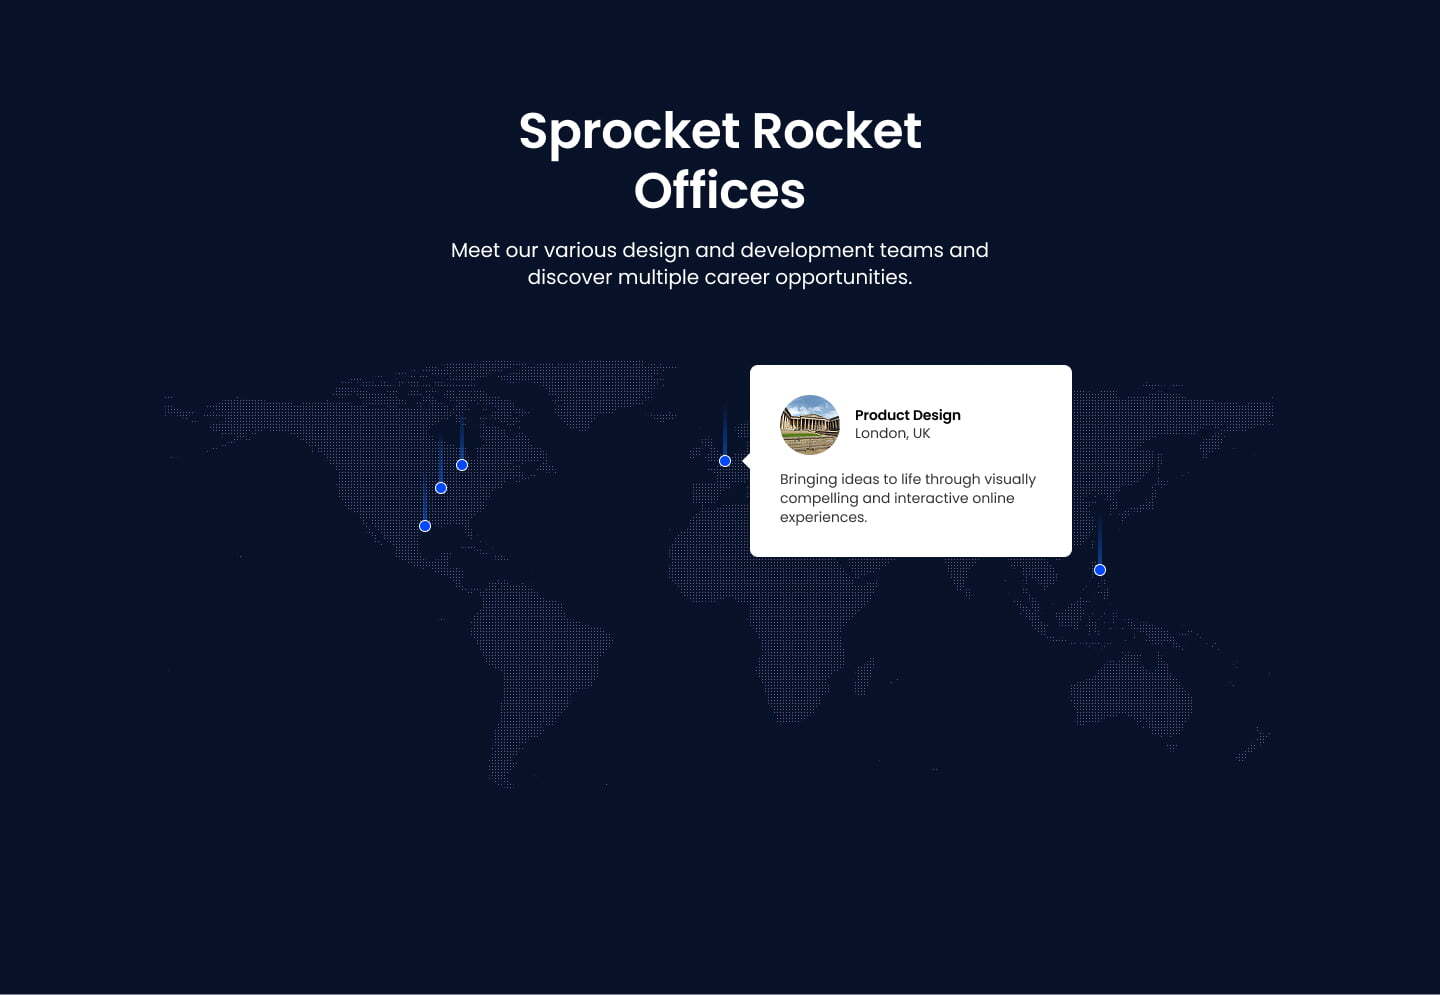
An interactive map module for displaying points of interest on any image. Unlike SR Locations 01, this version uses manual location data instead of HubDB and can work with any background image - not just maps.
Setting Up Points in HubSpot
Background Image
First, upload your desired background image. Can be a map, floor plan, diagram, or any image
Common Map Images

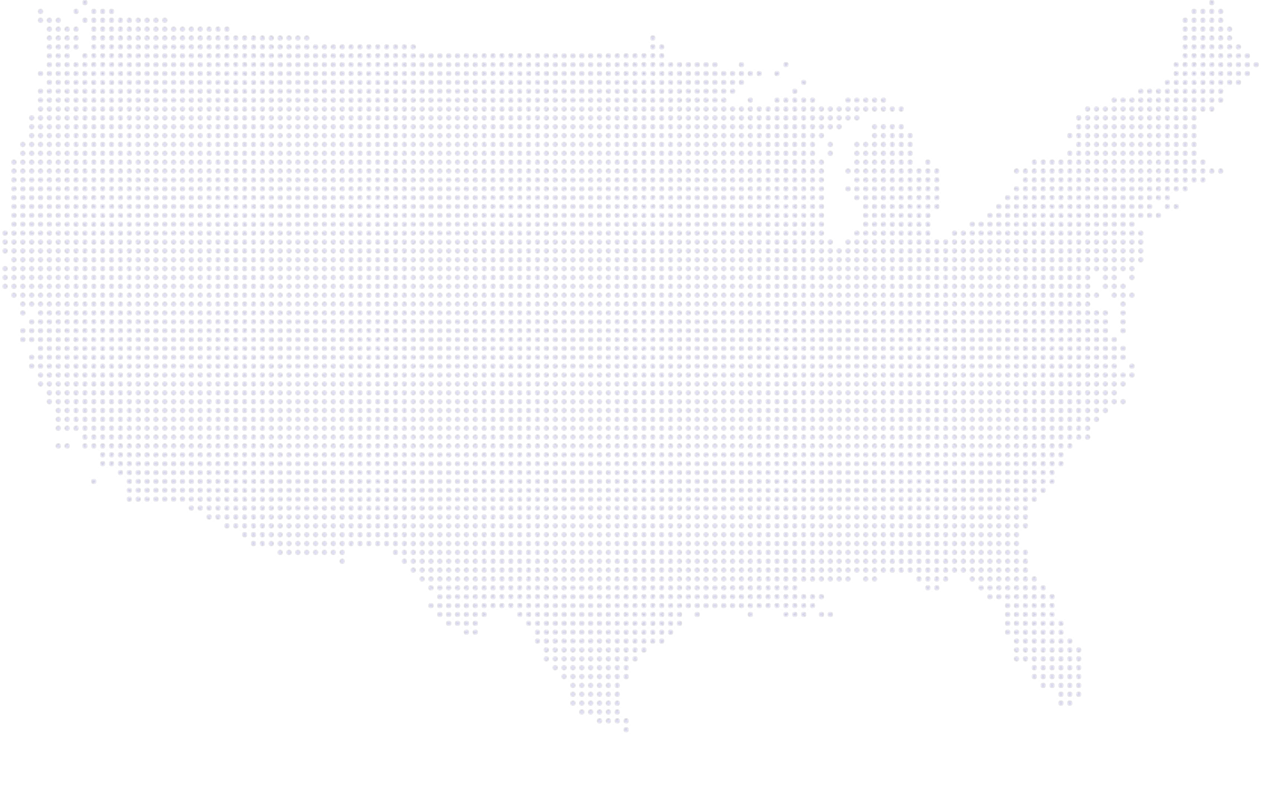
United States of America

Canada

United Kingdom

Germany

Australia
Adding Points
In the module settings, locate the "Points" section:
- Click "Add Point" to create a new location
-
Configure the point's position using percentages:
- X Coordinates (%) - Position from left edge (0-100)
- Y Coordinates (%) - Position from bottom edge (0-100)
- Example: Center of image would be X: 50%, Y: 50%
-
Set up the tooltip content:
- Tooltip Placement - Where the popup appears (right, left, top, bottom)
- Location Image (optional) - Appears in tooltip
- Heading - Usually location name
- Subheading - Usually city/country
- Description - Additional details
- CTA (optional) - Add a button or link
-
Repeat for each location you want to add
Understanding Coordinate Placement
-
X coordinates:
- 0% = Left edge
- 50% = Center
- 100% = Right edge
-
Y coordinates:
- 0% = Bottom edge
- 50% = Middle
- 100% = Top edge
Edit Mode
If you're having trouble visualizing coordinates, you can enable Edit Mode:
- Toggle "Edit Mode" in module settings
- Use it to find coordinates visually
- Note down the coordinates and enter them in the Points settings
- Remember: Points placed in Edit Mode don't save - it's just a coordinate finder
